Cornice Explained: Choosing the Right Profile for Queensland Homes
Cornice is one of those finishing details that most people only notice when it's wrong. Pick a profile that clashes with the room and it looks awkward. Use a chunky Colonial on a low ceiling and the room feels smaller than it is. This guide covers the main cornice profiles used in Queensland homes, the sizes that suit different ceiling heights, and how to fix cornice properly so it stays put.
Queensland's residential mix runs from post-war workers' cottages in the suburbs to contemporary new builds with 2.7-metre ceilings and square-set wall junctions. Each of those homes calls for a different approach to cornice, and what works in one will look out of place in the other.
What cornice actually does
Cornice covers the joint between the wall lining and the ceiling. That joint exists because plasterboard sheets butt up to each other rather than forming a seamless corner. Without cornice, you'd need to fill and sand that angle to a fine finish on every room in the house. With cornice, you cover it cleanly and add a visual transition between the two planes.
Beyond the practical function, cornice is one of the few architectural details that changes how a room reads. A 90mm cove in a high-ceilinged room reads as substantial and period-appropriate. The same profile in a 2.4-metre room with contemporary joinery looks heavy and dated. Getting this right is less about rules and more about proportion.
The three main profile types
Cove cornice
Cove is the standard profile in the vast majority of Queensland homes built since the 1970s. The profile is a simple concave curve that sweeps from the wall face to the ceiling plane. It reads as clean and unobtrusive, which is why builders and renovators default to it.
Cove cornice is produced in several sizes. The most common are 55mm, 75mm, and 90mm, measured as the face width from wall contact point to ceiling contact point. CSR Gyprock and Knauf both supply cove profiles across this range, and the sizes are consistent enough across suppliers that you can match existing cornice on extensions or renovations without difficulty.
- 55mm cove — standard 2.4-metre ceilings. Proportional without being heavy.
- 75mm cove — 2.4 to 2.7-metre ceilings. The most common size on contemporary QLD builds.
- 90mm cove — 2.7-metre ceilings and above. Works well in older homes with high ceilings or in rooms where the 75mm reads as too slight.
If you're adding a room to an existing house, take a piece of the existing cornice to your supplier or photograph it against a tape measure. Matching the profile size matters more than matching the brand, and most suppliers can identify what you have from a photo or a cross-section sample.
Square set
Square set is not a cornice profile. It's the absence of one. The plasterer finishes the wall-to-ceiling angle with a hard, crisp 90-degree joint using a square-set bead, and the angle is then set and sanded smooth. The result is a sharp line with no moulding at all.
Square set is the dominant finish in contemporary Queensland new builds, particularly in homes with a modern or Hamptons-influenced aesthetic. It reads as clean and minimal, and it works well in rooms with flush-set windows and joinery, where any moulding would interrupt the visual simplicity.
The trade-off is that square set is less forgiving than cove. Any movement in the frame that causes the wall-to-ceiling angle to open up slightly will show as a crack along the entire length of the angle, rather than being concealed behind a moulding. In Queensland's climate, where timber frames expand and contract with humidity, this is worth considering on timber-framed walls. Steel-framed partitions move less and tend to hold square set angles better over time.
Decorative and Colonial profiles
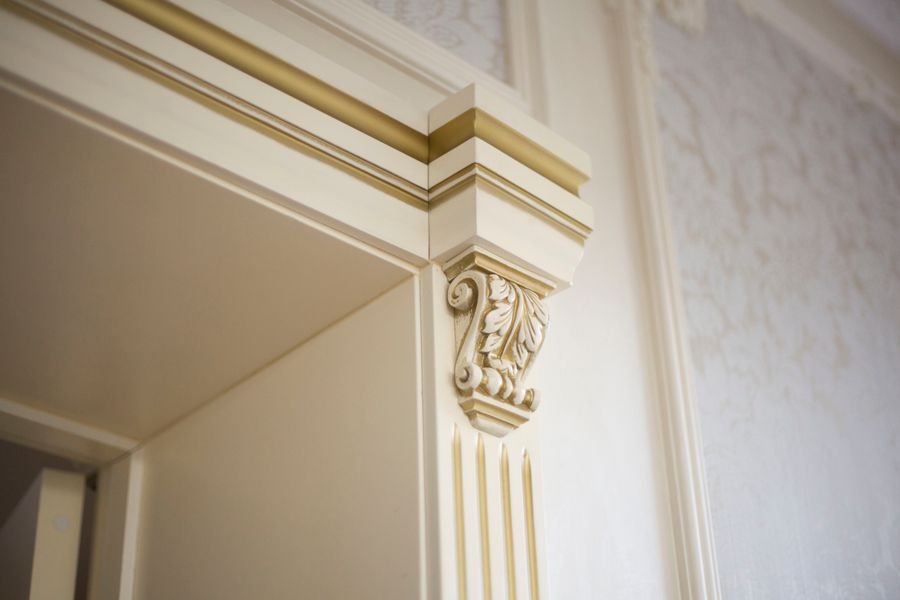
Older Queensland homes, particularly pre-war and inter-war Queenslanders and Federation-era houses, were built with decorative plaster cornices that are much more elaborate than cove. Egg-and-dart, acanthus leaf, and multi-step Colonial profiles were common, and many of these homes still have original cornices that need matching when rooms are repaired or extended.
Colonial cornice is a simpler decorative profile with stepped flat sections and small ogee curves. It reads as period-appropriate in character homes from roughly the 1920s through to the 1960s, and it's available as a precast plaster or a lightweight polystyrene-backed option. Genuine plaster profiles are heavier and require more care during fixing, but they match original work more closely and take paint the same way as the surrounding ceiling.
For homes with original elaborate cornice that's been damaged, the best approach is to engage a cornice specialist who can cast a matching replacement section from a surviving piece of the original. Standard decorative profiles from the supplier range won't match bespoke original work, and attempting to fill gaps with cove cornice in a character home is one of those things that's obvious from across the room.
Cornice profile comparison
| Profile | Typical sizes | Best suited to | Home style |
|---|---|---|---|
| Cove | 55mm, 75mm, 90mm | 2.4m–3.0m+ ceilings | Post-war, contemporary, project homes |
| Square set | N/A (no moulding) | Steel-framed walls, minimal interiors | Contemporary, Hamptons, coastal modern |
| Colonial | 75mm–130mm | 2.7m+ ceilings, period rooms | Federation, inter-war, pre-war Queenslanders |
| Decorative / bespoke plaster | Varies | Matching original work in character homes | Heritage, pre-war, restoration projects |
How cornice is fixed
Standard plasterboard cove cornice is fixed with cornice cement, also called cornice adhesive. This is a plaster-based adhesive that sets hard and bonds the cornice to both the wall and the ceiling face. It's mixed to a thick paste consistency and applied to the back of the cornice in a continuous bead along both the wall and ceiling contact faces before the length is pressed into position.
The back of the cornice is wetted briefly before the adhesive is applied. This stops the dry plaster core from drawing moisture out of the cement too fast before it can bond. Skipping this step is a common reason cornice pulls away from the ceiling in the first year or two after installation.
For cornice cement and adhesives that suit the job you're doing, the right product depends on whether you're fixing new cornice to a fresh board surface or re-fixing existing cornice to a painted wall. On painted surfaces, the cement bond is weaker and you'll need to score the paint back to bare plaster in the contact zone, or use an adhesive formulated for bonding to painted surfaces.
- Cut lengths to size. Internal corners are mitred at 45 degrees; external corners use a coped join or a purpose-made external corner bead.
- Wet the back of the cornice with a damp brush.
- Apply cornice cement in a continuous bead along the wall and ceiling contact faces.
- Press the cornice firmly into the angle and hold for 30–60 seconds. Support long lengths with temporary nails if needed until the cement grabs.
- Remove any squeezed-out cement with a damp brush before it sets.
- Once the cement has set, fill any gaps at joins or corners with cornice cement or a setting compound, sand smooth, and paint.
Lightweight foam-backed cornice uses a construction adhesive rather than cornice cement. The product weight is much lower, which means it stays in position without support during installation, but it requires a compatible adhesive and won't take the same finish as plaster under paint.
Choosing the right profile for your job
The two factors that narrow the choice quickly are ceiling height and the existing character of the home.
On new builds with 2.4-metre ceilings, 75mm cove is the standard choice and suits most interior styles. On homes with 2.7-metre or higher ceilings, 90mm cove fills the angle better and looks proportional rather than lost. On character homes where the original cornice is still present, match the existing profile rather than choosing something new.
For contemporary builds where the brief is minimal, square set is the right answer. It requires a plasterer who's confident with bead work and angle finishing, and it takes more care on timber-framed walls, but the result is clean and uncluttered in a way that cove in the same room would not be.
If you're renovating and adding a new room or extension, measure the existing cornice face width before you do anything else. It's a ten-second job that saves a frustrating return trip to the supplier or a mismatch that shows up the moment both rooms are painted the same colour.
Bayside stocks a full cornice range across cove profiles and decorative options suitable for Queensland residential work. If you're not sure which profile size suits your ceiling height or home style, the team at your nearest branch can help you compare options before you buy.
Need cornice for your next project?
Bayside Plasterboard supplies cove, Colonial, and decorative cornice profiles to builders and renovators across Southeast Queensland. Tell us your ceiling height and home style and we'll point you to the right profile and adhesive.
Talk to Bayside about cornice →