Plasterboard screws are bugle-head, self-embedding screws chosen by the framing and the board. Coarse thread for timber, fine thread with a needle point for light-gauge steel, and a drill point for heavier steel. Length is the board thickness plus enough bite: typically 25mm for 10mm board, 32mm for 13mm, and 41mm or longer for a double layer.
Screws are the cheapest item on a plasterboard order and the one most likely to hold the job up. The wrong thread strips out of steel, the wrong point will not start in a heavy stud, and a screw that is 6mm short leaves a wall that creaks. This guide covers the choices in the order a plasterer makes them, then lists everything else that belongs on the fixings line.
Why does the screw matter?
A plasterboard screw has to do three things: pull the sheet hard against the frame, sit just below the paper face without tearing through it, and stay put as the frame moves with the seasons. The bugle head does the second part, spreading the load so the head dimples the paper instead of cutting it. The thread and the point do the first and third, and they are where the choice sits, because a thread designed to grip timber fibre does not grip a thin steel web and a point designed to pierce steel is wasted on timber.
Every grade of plasterboard uses the same screws. What changes the screw is the framing behind the sheet and the number of layers in front of it.
Coarse thread or fine thread: timber or steel framing?
Timber framing takes a coarse-thread screw. The wide, deep thread bites into the wood fibre and pulls the sheet up tight in a few turns. Coarse-thread screws are usually sharp-pointed and driven straight in with no pilot hole.
Light-gauge steel framing takes a fine-thread screw. Steel studs and furring channel are thin, typically 0.50 to 0.75mm, and a coarse thread would cut a single wide groove through the web and strip. A fine thread gives several turns of engagement in the same thin metal. Fine-thread screws are the standard for steel stud, ceiling batten and furring channel, and they are what a fitout contractor buys by the carton.
If a job has both, which is common on a renovation where a steel ceiling grid meets a timber wall, keep the two screws in separate boxes on site. They look alike in the hand and a coarse thread in a steel batten is the classic loose-ceiling fault. Our guide to steel stud versus timber framing covers what else changes between the two.
Needle point or drill point?
Point selection is about the steel thickness. A needle point is a sharp, fine tip that pierces thin steel under driver pressure and is the right choice for standard wall studs, ceiling battens and furring channel up to roughly 0.8mm base metal thickness. Once the steel gets heavier, as it does on boxed-out door jambs, heavy-duty studs and structural steel around 1.2mm and up, a needle point skates and dulls. A drill point, sometimes called a self-drilling or wing-tip screw, has a small drill flute cut into the tip that bores its own hole through the heavier section before the thread engages.
The gauge of the framing on the order tells you the point. If the steel framing came from us, the trade counter already knows the gauge and can match the screw to it.
What length screw does each board need?
The rule is board thickness plus bite. Into timber, allow at least 20mm of thread in the frame. Into steel, the thread only has to pass fully through the web, so about 10mm beyond the board is enough. The table gives the lengths most plasterers reach for.
| Board | Into timber | Into light-gauge steel |
|---|---|---|
| 10mm single layer | 6g x 25mm coarse thread | 6g x 25mm fine thread, needle point |
| 13mm single layer | 6g x 32mm coarse thread | 6g x 25mm or 32mm fine thread |
| 16mm single layer | 6g x 41mm coarse thread | 6g x 32mm fine thread |
| Double 13mm layer | 6g x 51mm coarse thread | 6g x 41mm or 45mm fine thread |
| Board to heavy steel, 1.2mm and up | n/a | Same lengths, drill point |
Double-layer walls also use laminating screws, a shorter, wider-threaded screw that fixes the second sheet to the first between the studs so the outer layer does not sag while the adhesive cures. They belong on the order for any fire-rated or acoustic wall that calls for two layers.
How are screws spaced?
Spacing comes from the board manufacturer’s installation manual and, on rated walls, from the tested system, so those documents are the authority. The patterns most Queensland plasterers work to are closer at the sheet edges than in the field, and closer on ceilings than on walls. On a wall fixed with stud adhesive and screws, the screws sit around the perimeter with a few in the field to hold the sheet while the adhesive cures. On a screw-only wall or a ceiling, they run at regular centres across every stud or batten, typically closer than 300mm, with the edge screws held back from the sheet edge so the core does not crush.
Depth matters as much as spacing. A screw driven too deep tears the paper and holds nothing, one left proud shows through every coat of compound. A depth-setting attachment on the driver, or a collated screw gun with the depth stop set on a scrap of the same board, removes the guesswork and is worth the small cost on any job larger than a single room.
What else goes on the fixings order?
- Board screws in the right thread, point and length, loose or collated to suit the gun
- Laminating screws for any double-layer wall
- Driver bits and a depth-setting attachment, since bits wear out mid-job
- Framing screws for steel to steel: wafer-head or hex-head self-drillers for track, stud and batten
- Furring channel clips, ceiling batten clips and suspension components for direct-fix and suspended ceilings
- Masonry anchors and plugs for fixing track or furring channel to concrete or block
- Hollow wall anchors and toggles for fixing off the finished board later
- Stud adhesive, which is the other half of a wall fixing and reduces the screw count
Fibre cement is the one sheet on a lining order that does not take plasterboard screws. It needs its own fibre cement screws or nails with a countersunk head designed to seat in the harder sheet, so if the eaves or the wet area walls are fibre cement, that is a separate fastener line.
Getting fixings supplied in South East Queensland
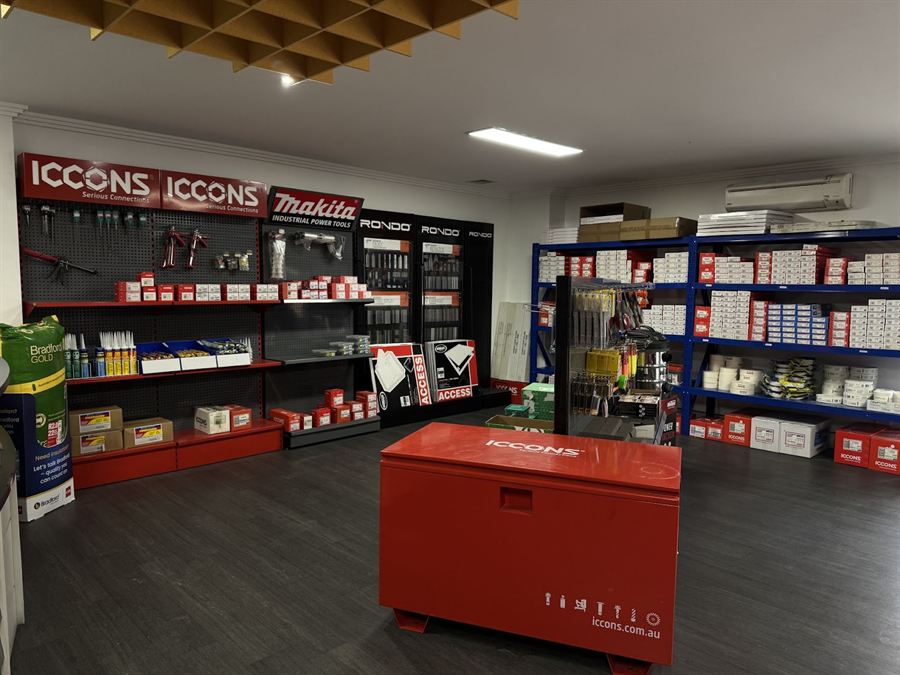
Bayside stocks the core fixings and fasteners for plasterboard systems at all four yards, including ICCONS screws and anchors and the driver bits and tools to run them, so fasteners get added to a board or framing order rather than chased separately. Tell the trade counter the board thickness, the layers and the framing and we will match the screw.
Call (07) 3245 4488 or send the job details through and we will put the fixings on the same truck as the board for delivery across Brisbane, the Redlands, the Gold Coast and Moreton Bay.
Screws on the truck with the board?
Send Bayside Plasterboard the board, the layers and the framing, and we will add the right screws, clips and anchors to the order for delivery across South East Queensland.
Get a fixings quote →